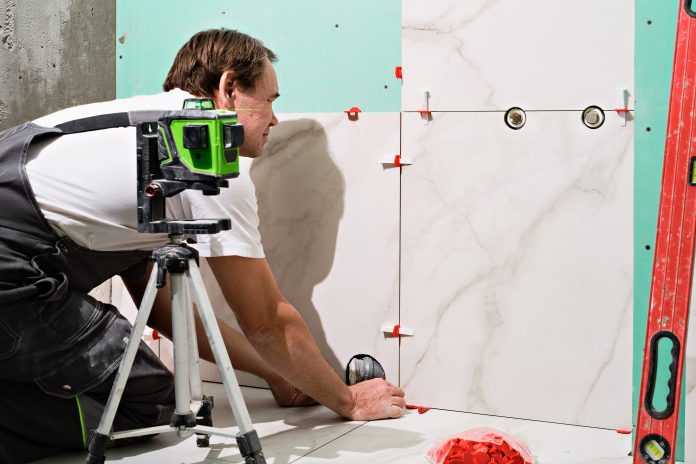
Mastering Bathroom Tile Installation
Let’s dive into the detailed steps for a successful bathroom tile installation:
1. Gather Materials and Tools
Before you begin, ensure you have all the necessary materials and tools, including tiles, mortar, trowel, spacers, grout, tile cutter, level, measuring tape, and safety gear.
2. Prepare the Surface
Ensure the surface is clean, dry, and level. Repair any cracks or holes, and apply a cement backer board if needed to create a stable and even base.
3. Plan Your Layout
Determine the tile layout by measuring the space and creating a visual plan. Start tiling from the center or focal point to ensure balanced and symmetrical placement.
4. Mix Mortar
Follow the manufacturer’s instructions to mix the appropriate type of mortar. Use a trowel to spread mortar evenly on a small area of the surface, creating ridges.
5. Begin Tiling
Place the first tile at the center of your layout, pressing it into the mortar and wiggling it slightly to secure adhesion. Continue setting tiles, adding spacers to maintain consistent gaps.
6. Cut Tiles
Use a tile cutter or wet saw to make precise cuts for tiles that need to fit around edges, corners, or fixtures. Measure and mark tiles before cutting.
7. Apply Grout
Once the mortar is set, remove spacers and apply grout using a rubber float. Press the grout into the gaps between tiles, working at a diagonal angle.
8. Clean and Seal
After the grout sets for about 20-30 minutes, use a damp sponge to clean excess grout from the tile surfaces. Allow the grout to cure, and then apply a grout sealer to protect it.
9. Finishing Touches
Reattach fixtures, such as faucets and handles, and replace any trim or molding. Wipe down the tiles for a final cleaning and admire your newly tiled bathroom.
Frequently Asked Questions (FAQs)
Is bathroom tile installation a DIY project?
Yes, bathroom tile installation can be a DIY project if you’re comfortable with basic tools and follow the proper steps. However, complex layouts and larger areas may benefit from professional help.
How do I choose the right tile size and material?
Consider the size of your bathroom, the desired style, and the level of maintenance. Larger tiles can make a small space feel bigger, while natural stone adds elegance.
Do I need to waterproof the bathroom before tiling?
If you’re tiling in wet areas like showers, it’s essential to waterproof the substrate with a waterproofing membrane to prevent water damage.
What’s the best way to clean and maintain tiled surfaces?
Regularly clean tiled surfaces with a mild, non-abrasive cleaner and a soft cloth. Avoid harsh chemicals that could damage the grout or tile finish.
Can I tile over existing tiles?
While it’s possible to tile over existing tiles, it’s generally recommended to remove the old tiles to ensure a proper bond and a flat surface.
How long does the grout need to cure before sealing?
Allow the grout to cure for about 48 hours before applying a grout sealer. Follow the manufacturer’s recommendations for the specific sealer you’re using.
Conclusion
Bathroom tile installation is a satisfying endeavor that allows you to create a personalized and beautiful space. By following these step-by-step instructions and considering expert tips, you’ll be well on your way to achieving a stunning tiled bathroom that reflects your style and enhances your daily routine.
Take the time to gather materials, plan your layout, and execute each step with precision and care. With patience and attention to detail, you’ll transform your bathroom into a functional and visually appealing oasis that you can enjoy for years to come.

